This article is not meant for introducing on how to deploy a Laravel Project on DigitalOcean from scratch, I assume you already have deployed a Laravel project on a Droplet, and you are looking to host another Laravel project in the same Droplet as a subdomain, in that way you are looking to minimize the cost and time from maintaining multiple Droplets.
Point the Domain name to Digitalocean and Create A record
You must have a registered domain name already and that is pointing to digitalocean server, and you have added appropriate A records in your DO control panel. If not please follow this tutorials to know how to point the domain name to digital ocean droplet.
- Add Domain Names in Digital Ocean Dashboard
- Create A record in Digitalocean Control Panel
- Point the Digital Ocean nameservers with Popular Domain Registrars
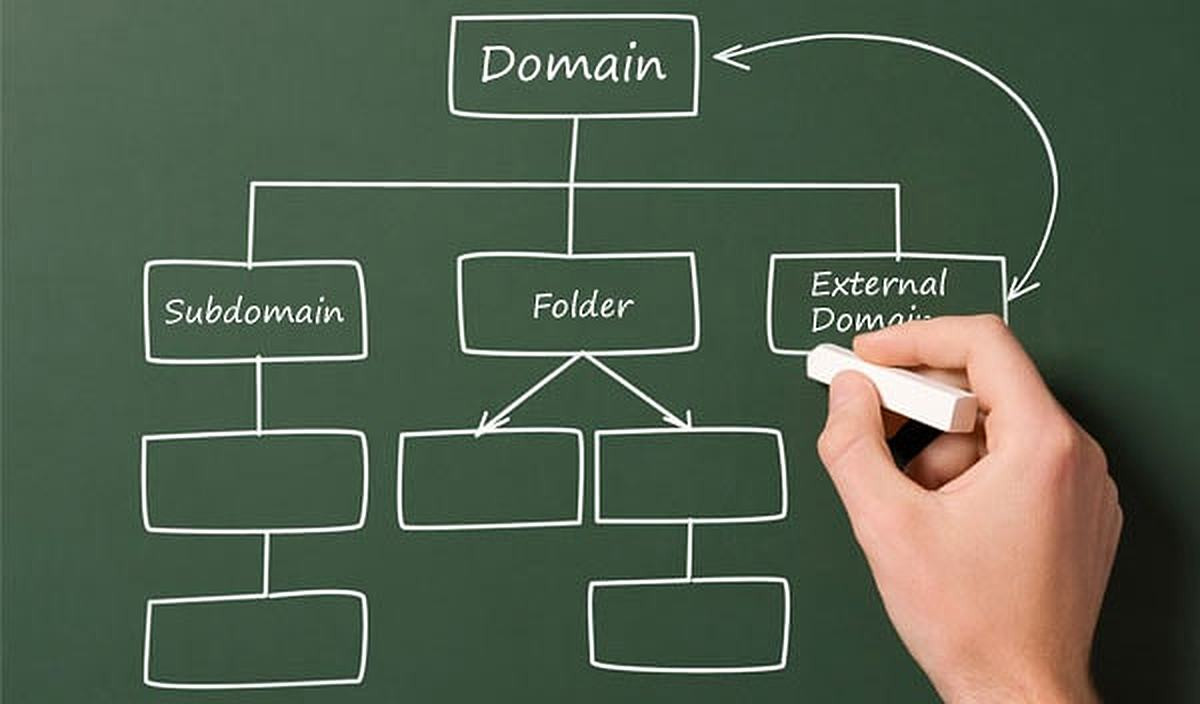
Nginx server block file is where it comes to play around to host a Laravel project as a subdomain in the same Droplet as an existing domain, Nginx Server Blocks allows you to run more than one website on a single machine. With Server Blocks, you can specify the site document root (the directory which contains the website files), create a separate security policy for each site, use different SSL certificates for each site and much more..
You must already have setuped a Server Block file or using the default Server Block File for your existing Laravel project, Let's Create a new Server Block for your new Project, it always best practice to have multiple site files for each server blocks although you can have single site files with multiple server block defined on it.
Create a New Server Block File for Our Second Project
First Login to the Droplet via terminal with your non-root user with sudo privileges, Now that we have our initial server block configuration in place, we can use that as a basis for our second file, which we will then copy over for our second project and make the necessary modifications.
Run the following command in your terminal to copy the default server block file: Remember you must rename subdomain.example.com with your actual domain name which you will use to access your new Project.
sudo cp /etc/nginx/sites-available/default /etc/nginx/sites-available/subdomain.example.com
Let's edit the new Server Blockfile, run the following command in your terminal: Don't forget to replace the subdomain.example.com with the actual name you have given in the previous step:
sudo nano /etc/nginx/sites-available/subdomain.example.com
you server block file must be similar to the following:
server {
    listen 80 default_server;
    listen [::]:80 default_server;

    root /var/www/defaultproject/public;
    index index.php index.html index.htm index.nginx-debian.html;

    server_name example.com www.example.com;

    location / {
        try_files $uri $uri/ /index.php?$query_string;
    }

    location ~ \.php$ {
        include snippets/fastcgi-php.conf;
        fastcgi_pass unix:/var/run/php/php7.2-fpm.sock;
    }

    location ~ /\.ht {
        deny all;
    }
}
In this new file, we’re going to have to look at the listen directives again. If you left the default_server option enabled in the default server block file, you’ll have to remove it in this file. Furthermore, you’ll have to get rid of the ipv6only=on option if it is already available in this file, as it can only be specified once per address/port combination: With the above changes in place, the listen directive should look like the following.
listen 80;
listen [::]:80;
Then Adjust the document root directive to point to your subdomain Laravel project's document root: Yet we haven't create a folder for your new project, but we will do it in the following steps, for now you can name it as same as your subdomain name and use the same name later when you create actual folder in the path.
root /var/www/subdomain.example.com/public;
Adjust the server_name to match your sub domain and any aliases:
server_name subdomain.example.com www.subdomain.example.com;
Your second server block file should look something like this with the above changes in place:
server {
    listen 80;
    listen [::]:80;

    root /var/www/subdomain.example.com/public;
    index index.php index.html index.htm index.nginx-debian.html;

    server_name subdomain.example.com www.subdomain.example.com;

    location / {
        try_files $uri $uri/ /index.php?$query_string;
    }

    location ~ \.php$ {
        include snippets/fastcgi-php.conf;
        fastcgi_pass unix:/var/run/php/php7.2-fpm.sock;
    }

    location ~ /\.ht {
        deny all;
    }
}
Let's save the file and reload the new configuration. To save it remember to press Ctrl + X and then type Y and then press enter. Now that we have saved the file, make sure it is error free by typing:
sudo nginx -t
If everything was correct then you should get this notice in your terminal:
nginx: the configuration file /etc/nginx/nginx.conf syntax is ok
nginx: configuration file /etc/nginx/nginx.conf test is successful
Enable your new Server Blocks and Restart Nginx
We need to adjust one setting really quickly in the default Nginx configuration file. Open it up by typing:
sudo nano /etc/nginx/nginx.conf
We just need to uncomment one line. Find and remove the comment from this, make sure the value is set as 64:
server_names_hash_bucket_size 64;
Next carefully scroll down to the bottom of HTTP block and make sure the following lines are already exist:
include /etc/nginx/conf.d/*.conf;
include /etc/nginx/sites-enabled/*;
Finally Let's Create a symbolic links from the new server block file in sites-available directory to the sites-enabled directory, which Nginx reads from during startup. Run the following command in your terminal, don't forget to replace the subdomain.example.com with your actual domain name used in server_name section:
sudo ln -s /etc/nginx/sites-available/subdomain.example.com /etc/nginx/sites-enabled/
Let's reload Nginx Configuration and restart Nginx Server so that our changes can take affect.
sudo systemctl reload nginx
sudo service nginx restart
with this setup, now your server is ready to host another Laravel Project as a subdomain. Let's go ahead and deploy the new Project from your development machine.
Deploy the New Laravel Project
Create the folder in /var/www directory for your new project, make sure the project folder name matches the exact name that you defined in the line for root path in your New Server Block file which you created in the last step:
root /var/www/subdomain.example.com/public;
I am not going to repeat the deployment process again, rest of the work is straight forward as how you deployed your previous Laravel Project, Click here to read my other post on this topic if you are still not clear on how to proceed further.
If you have any other questions, experience or insights on "Hosting a Laravel App on a Subdomain in DigitalOcean" please feel free to leave your thoughts in the comments bellow, Don't forget to share the posts.


Be the first one to write a response :(
{{ reply.member.name }} - {{ reply.created_at_human_readable }}