Prototyping Vuebnb, Your First Vue.js Project
In this chapter, we will learn the basic features of Vue.js. We'll then put this knowledge into practice by building a prototype of the case-study project, Vuebnb.
Topics this chapter covers:
- Installation and basic configuration of Vue.js
- Vue.js essential concepts, such as data binding, directives, watchers and lifecycle hooks
- How Vue's reactivity system works
- Project requirements for the case-study project
- Using Vue.js to add page content including dynamic text, lists, and a header image
- Building an image modal UI feature with Vue
Vuebnb prototype
In this chapter, we'll be building a prototype of Vuebnb, the case-study project that runs for the duration of this book. The prototype will just be of the listing page, and by the end of the chapter will look like this:
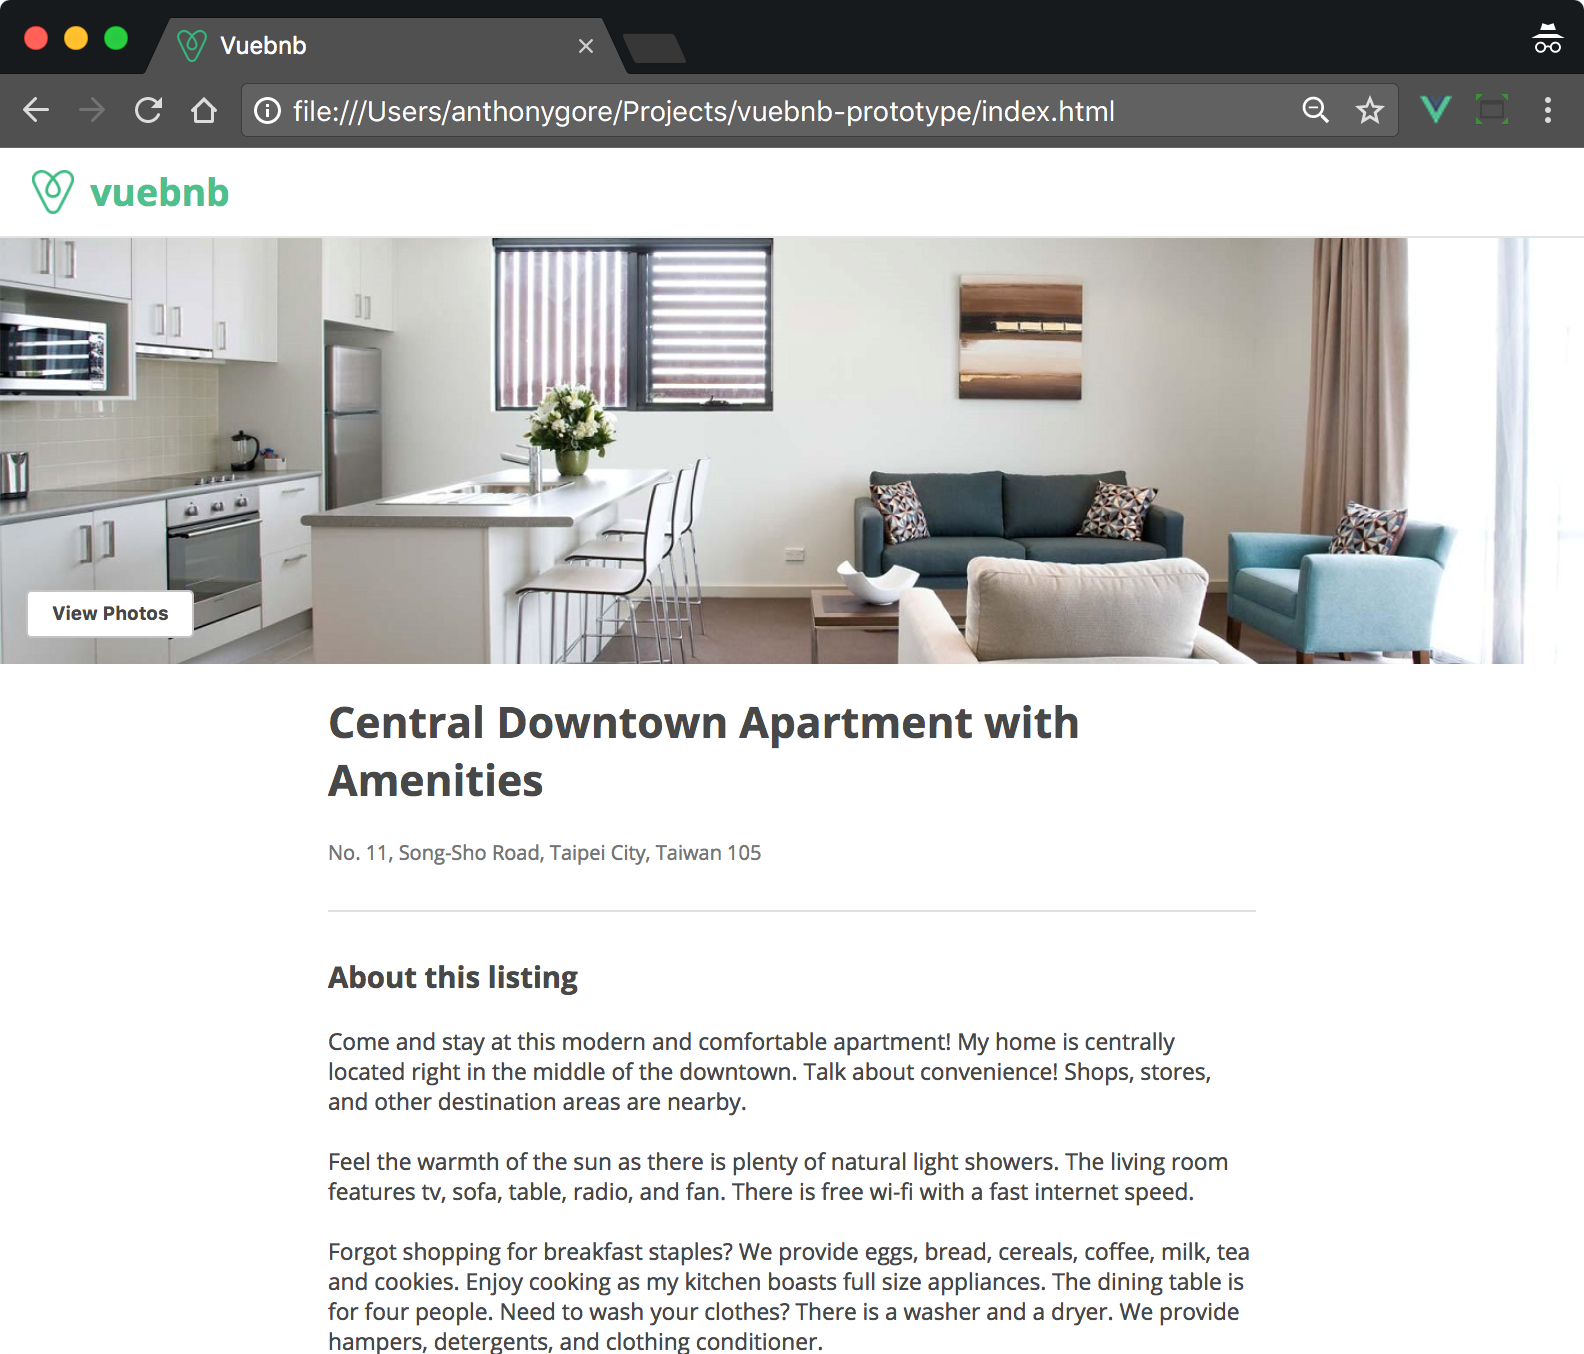
Once we've set up our backend in Chapter 3, Setting Up a Laravel Development Environment, and Chapter 4, Building a Web Service with Laravel, we'll migrate this prototype into the main project.
Project code
Before we begin, you'll need to download the code base to your computer by cloning it from GitHub. Instructions are given in the section Code base in Chapter 1, Hello Vue - An Introduction to Vue.js.
The folder vuebnb-prototype has the project code for the prototype we'll now be building. Change into that folder and list the contents:
$ cd vuebnb-prototype
$ ls -la
The folder contents should look like this:
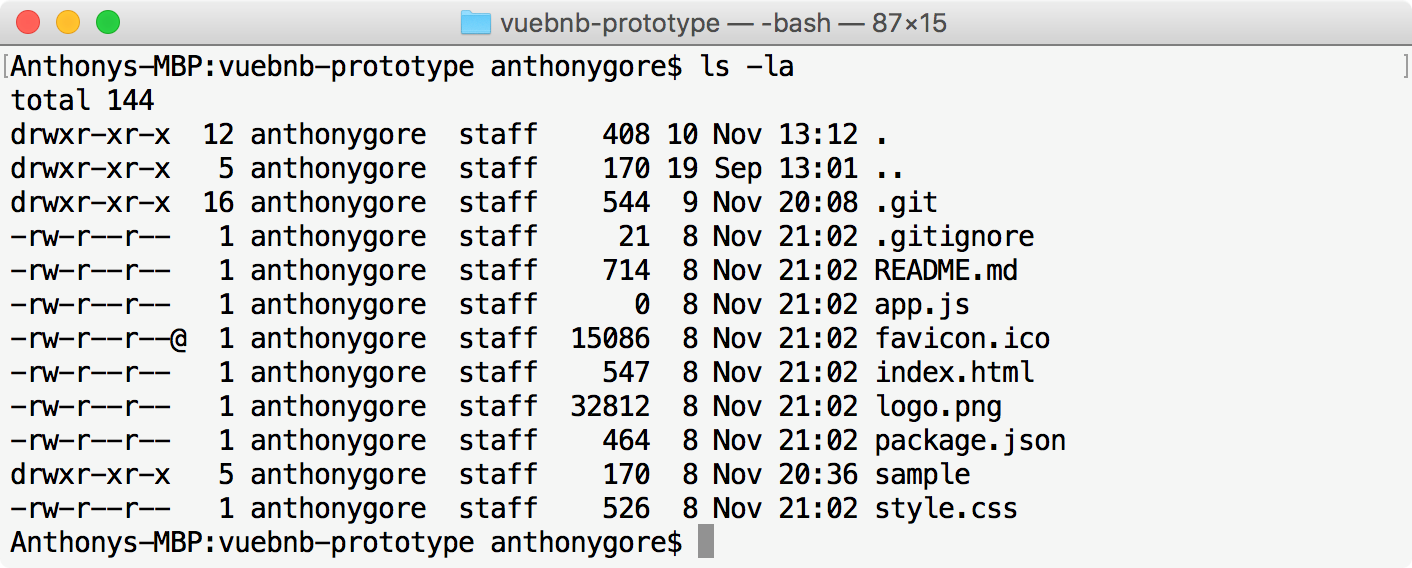
Figure 2.2. vuebnb-prototype project files
Unless otherwise specified, all further Terminal commands in this chapter will assume you're in the vuebnb-prototype folder
NPM install
You'll now need to install the third-party scripts used in this project, including Vue.js itself. The NPM install method will read the included package.json file and download the required modules:
$ npm install
You'll now see a new node_modules directory has appeared in your project folder.
Main files
Open the vuebnb-prototype directory in your IDE. Note that the following index.html file is included. It's mostly comprised of boilerplate code, but also has some structural markup included in the body tag.
Also note that this file links to style.css, where our CSS rules will be added, and app.js, where our JavaScript will be added.
index.html:
<!DOCTYPE html>
<html>
<head>
<meta charset="UTF-8">
<meta http-equiv="X-UA-Compatible"content="IE=edge,chrome=1">
<meta name="viewport"content="width=device-width,initial-scale=1">
<title>Vuebnb</title>
<link href="node_modules/open-sans-all/css/open-sans.css"rel="stylesheet">
<link rel="stylesheet"href="style.css"type="text/css">
</head>
<body>
<div id="toolbar">
<img class="icon"src="logo.png">
<h1>vuebnb</h1>
</div>
<div id="app">
<div class="container"></div>
</div>
<script src="app.js"></script>
</body>
</html>
Currently app.js is an empty file, but I have included some CSS rules in style.css to get us started.
style.css:
body {
  font-family: 'Open Sans', sans-serif;
  color: #484848;
  font-size: 17px;
  margin: 0;
}

.container {
  margin: 0 auto;
  padding: 0 12px;
}

@media (min-width: 744px) {
  .container {
      width: 696px;
  }
}

#toolbar {
  display: flex;
  align-items: center;
  border-bottom: 1px solid #e4e4e4;
  box-shadow: 0 1px 5px rgba(0, 0, 0, 0.1);
}

#toolbar .icon {
  height: 34px;
  padding: 16px 12px 16px 24px;
  display: inline-block;
}

#toolbar h1 {
  color: #4fc08d;
  display: inline-block;
  font-size: 28px;
  margin: 0;
}
Opening in the browser
To view the project, locate the index.html file in your web browser. In Chrome, it's as simple as File| Open File. When it loads, you'll see a page that is mostly empty, other than the toolbar at the top.
Installing Vue.js
Now it's time to add the Vue.js library to our project. Vue was downloaded as part of our NPM install, so now we can simply link to the browser-build of Vue.js with a script tag.
index.html:
<body>
<div id="toolbar">...</div>
<div id="app">...</div>
<script src="node_modules/vue/dist/vue.js"></script>
<script src="app.js"></script>
</body>
It's important that we include the Vue library before our own custom app.js script, as scripts run sequentially.
Vue will now be registered as a global object. We can test this by going to our browser and typing the following in the JavaScript console:
console.log(Vue);
Here is the result:
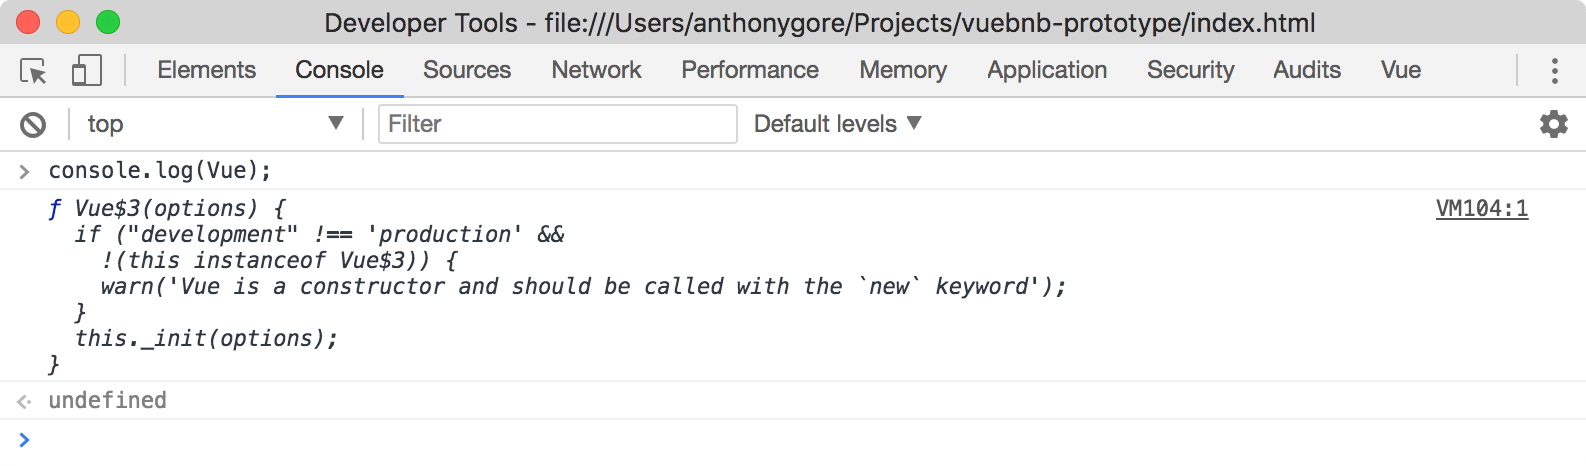
Figure 2.3. Checking Vue is registered as a global object
Page content
With our environment set up and starter code installed, we're now ready to take the first steps in building the Vuebnb prototype.
Let's add some content to the page, including the header image, the title, and the About section. We'll be adding structure to our HTML file and using Vue.js to insert the correct content where we need it.
The Vue instance
Looking at our app.js file, let's now create our root instance of Vue.js by using the new operator with the Vue object.
app.js:
var app =newVue();
When you create a Vue instance, you will usually want to pass in a configuration object as an argument. This object is where your project's custom data and functions are defined.
app.js:
var app =newVue({
  el:'#app'
});
As our project progresses, we'll be adding much more to this configuration object, but for now we've just added the el property that tells Vue where to mount itself in the page.
You can assign to it a string (a CSS selector) or an HTML node object. In our case, we've used the #app string, which is a CSS selector referring to the element with the app ID.
index.html:
<div id="app">
<!--Mount element-->
</div>
Vue has dominion over the element it mounts on and any child node. For our project so far, Vue could manipulate the div with the header class, but it could not manipulate the div with the toolbar ID. Anything placed within this latter div will be invisible to Vue.
index.html:
<body>
<div id="toolbar">...</div>
<div id="app">
<!--Vue only has dominion here-->
  <div class="header">...</header>
  ...
</div>
<script src="node_modules/vue/dist/vue.js"></script>
<script src="app.js"></script>
</body>
From now on, we'll refer to our mount node and its children as our template.
Data binding
A simple task for Vue is to bind some JavaScript data to the template. Let's create a data property in our configuration object and assign to it an object including a title property with a 'My apartment' string value.
app.js:
var app =newVue({
  el:'#app',
  data:{
    title:'My apartment'
}
});
Any property of this data object will be available within our template. To tell Vue where to bind this data, we can use mustache syntax, that is, double curly brackets, for example, {{ myProperty }}. When Vue instantiates, it compiles the template, replaces the mustache syntax with the appropriate text, and updates the DOM to reflect this. This process is called text interpolation and is demonstrated in the following code block.
index.html:
<div id="app">
<div class="container">
<div class="heading">
<h1>{{ title }}</h1>
</div>
</div>
</div>
Will render as this:
<div id="app">
<div class="container">
<div class="heading">
<h1>My apartment</h1>
</div>
</div>
</div>
Let's add a few more data properties now and enhance our template to include more of the page structure.
app.js:
var app =newVue({
  el:'#app',
  data:{
    title:'My apartment',
    address:'12 My Street, My City, My Country',
    about:'This is a description of my apartment.'
}
});
index.html:
<div class="container">
<div class="heading">
<h1>{{ title }}</h1>
<p>{{ address }}</p>
</div>
<hr>
<div class="about">
<h3>About this listing</h3>
   <p>{{ about }}</p>
  </div>
</div>
Let's also add some new CSS rules.
style.css:
.heading{
margin-bottom: 2em;
}

.heading h1{
font-size: 32px;
font-weight: 700;
}

.heading p{
font-size: 15px;
color:#767676;
}

hr{
border: 0;
  border-top: 1px solid #dce0e0;
}

.about {
  margin-top: 2em;
}

.about h3 {
  font-size: 22px;
}

.about p {
  white-space: pre-wrap;
}
If you now save and refresh your page, it should look like this:
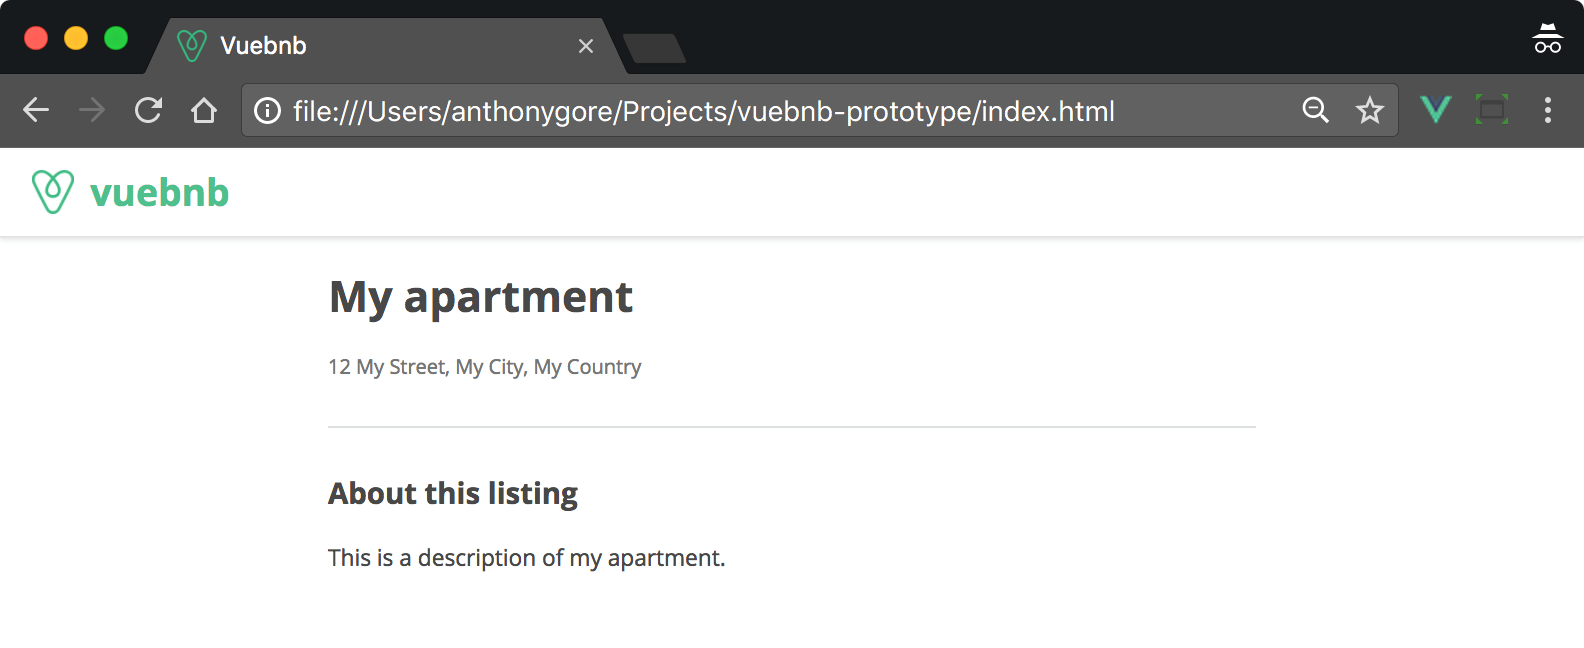
Figure 2.4. Listing page with basic data binding
Mock listing
While we're developing, it'd be nice to work with some mock data so that we can see how our completed page will look. I've includedsample/data.jsin the project for this very reason. Let's load it in our document, making sure it goes above our app.js file.
index.html:
<body>
<div id="toolbar">...</div>
<div id="app">...</div>
<script src="node_modules/vue/dist/vue.js"></script>
<script src="sample/data.js"></script>
<script src="app.js"></script>
</body>
Have a look at the file and you'll see that it declares a sample object. We will now utilize it in our data configuration.
app.js:
data:{
  title: sample.title,
  address: sample.address,
  about: sample.about
}
Once you save and refresh, you'll see more realistic data on the page:
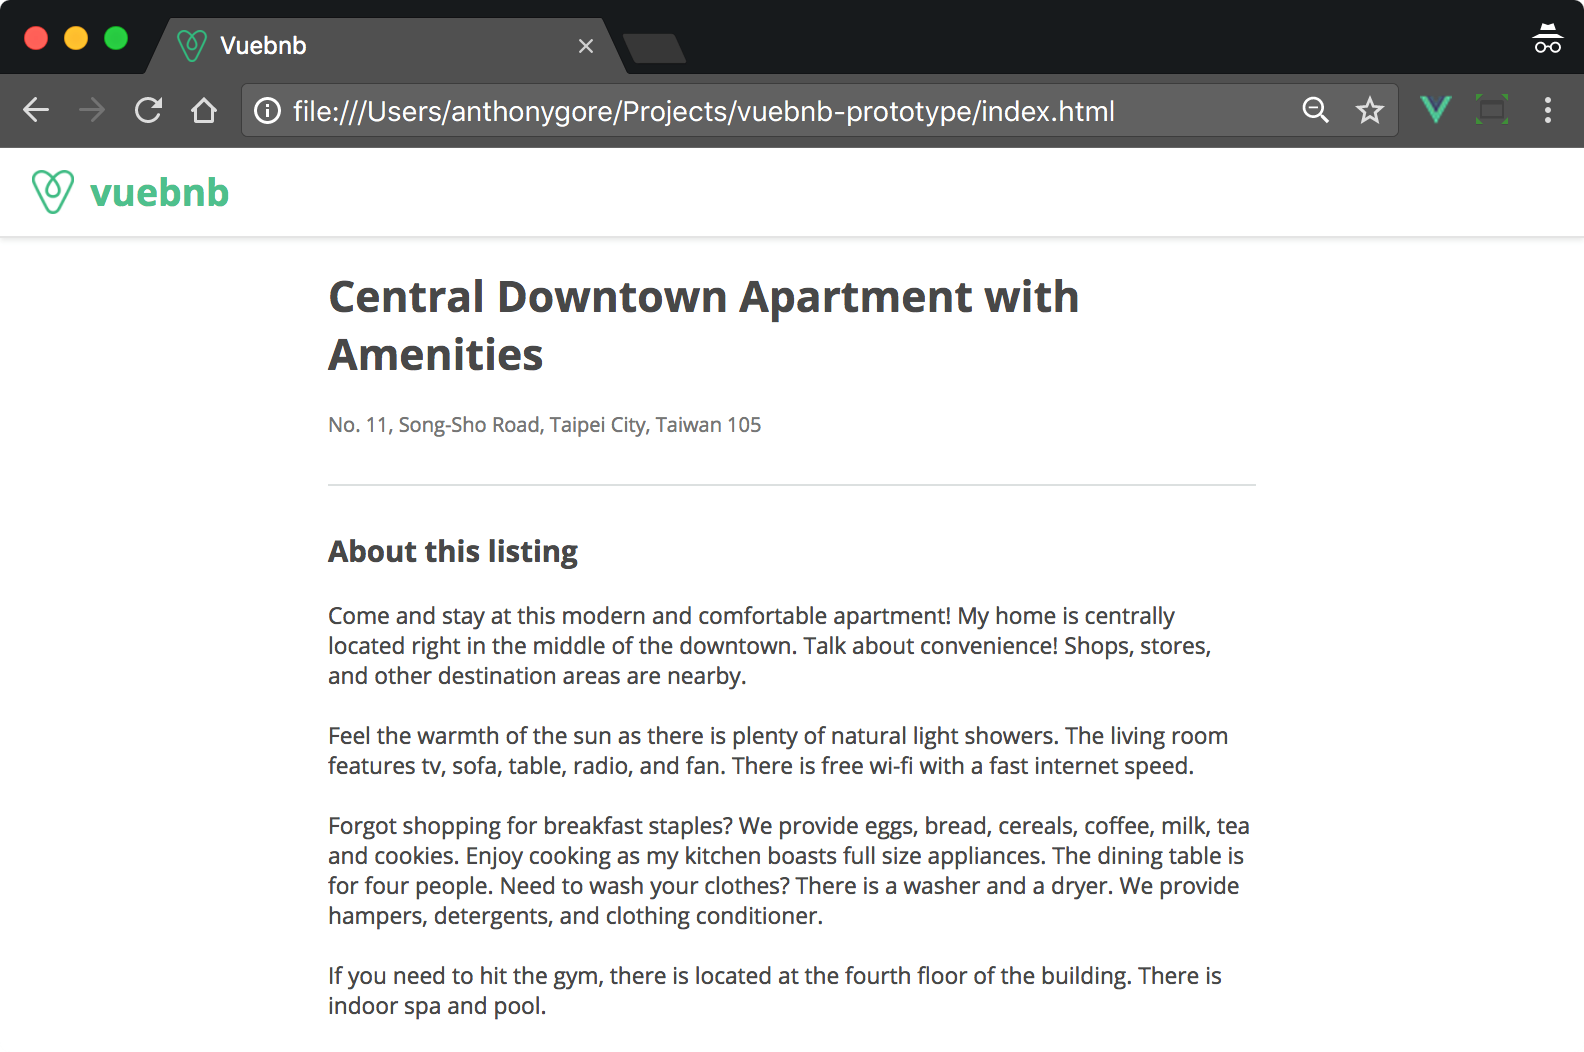
Figure 2.5. Page including mock-listing sample
Using global variables split over different script files in this way is not an ideal practice. We'll only be doing this in the prototype, though, and later we'll get this mock-listing sample from the server.
Header image
No room listing would be complete without a big, glossy image to show it off. We've got a header image in our mock listing that we'll now include. Add this markup to the page.
index.html:
<div id="app">
  <div class="header">
    <div class="header-img"></div>
  </div>
  <div class="container">...</div>
</div>
And this to the CSS file.
style.css:
.header {
  height: 320px;
}

.header .header-img {
  background-repeat: no-repeat;
  background-size: cover;
  background-position: 50% 50%;
  background-color: #f5f5f5;
  height: 100%;
}
You may be wondering why we're using a div rather than an img tag. To help with positioning, we're going to set our image as the background of the div with the header-img class.
Style binding
To set a background image, we must provide the URL as a property in a CSS rule like this:
.header .header-img {
  background-image: url(...);
}
Obviously, our header image should be specific to each individual listing, so we don't want to hard code this CSS rule. Instead, we can have Vue bind the URL from data to our template.
Vue can't access our CSS style sheet, but it can bind to an inline style attribute:
<div class="header-img" style="background-image: url(...);"></div>
You may think using a text interpolation is the solution here, for example:
<div class="header-img" style="background-image: {{ headerUrl }}"></div>
But this is not valid Vue.js syntax. This is, instead, a job for another Vue.js feature called a directive. Let's explore directives first and then come back to solving this problem.
Directives
Vue's directives are special HTML attributes with the v- prefix, for example, v-if, which provide a simple way to add functionality to our templates. Some examples of directives you can add to an element are:
- v-if: Conditionally render the element
- v-for: Render the element multiple times based on an array or object
- v-bind: Dynamically bind an attribute of the element to a JavaScript expression
- v-on: Attach an event listener to the element
There are more that we will explore throughout the book.
Usage


Be the first one to write a response :(
{{ reply.member.name }} - {{ reply.created_at_human_readable }}